01
What a cap chuck does
The chuck contacts the closure and transfers tightening force. Its design should suit the cap shape, texture and presentation requirements.
Buyer guide
Cap chucks and change parts help a capping machine handle specific closures and bottle formats. Planning them properly reduces setup time and improves repeatability.
Selection notes
Cap chucks and change parts help a capping machine handle specific closures and bottle formats. Planning them properly reduces setup time and improves repeatability.
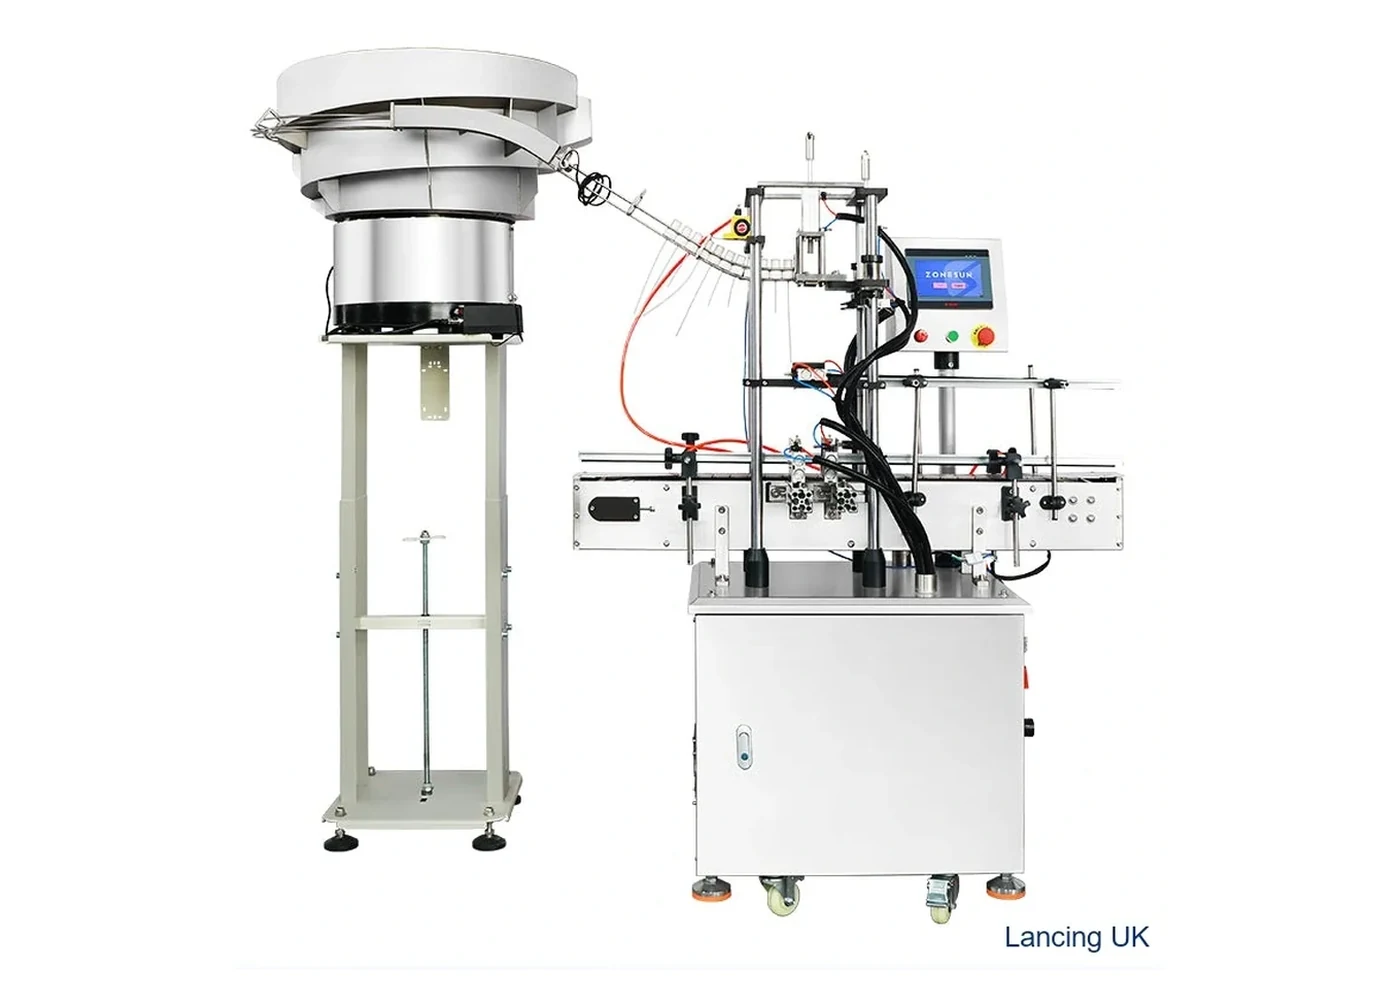
Buying detail
The chuck contacts the closure and transfers tightening force. Its design should suit the cap shape, texture and presentation requirements.
If the same machine handles several bottles or caps, change parts may be needed to keep each format stable and repeatable.
Tell the supplier about planned SKUs or future caps so tooling choices do not restrict growth unnecessarily.
Include cap diameter, closure type, bottle size, target output, available space and whether the capper needs to connect to filling or labelling equipment.
Related routes
Use this route to compare another part of the screw capping project and strengthen your enquiry brief.
Use this route to compare another part of the screw capping project and strengthen your enquiry brief.
Use this route to compare another part of the screw capping project and strengthen your enquiry brief.
Use this route to compare another part of the screw capping project and strengthen your enquiry brief.
Use this route to compare another part of the screw capping project and strengthen your enquiry brief.
Use this route to compare another part of the screw capping project and strengthen your enquiry brief.
FAQs
Suitability depends on cap type, bottle stability, target torque, output and whether caps are manually placed or automatically fed. Samples help confirm the correct route.
Send bottle and cap samples or drawings, cap diameter, bottle height and diameter, target output, product type, line layout and any changeover requirements.
Yes. Lancing UK can review the product, pack, closure and output requirement first, then help shortlist a practical screw capping route.
Tooling evidence
The tool must transmit tightening force while protecting ribs, smooth surfaces, decorative coatings, liners and tamper features.
| Closure feature | Tooling implication | Trial observation |
|---|---|---|
| Deep or fine ribs | An insert or profile should engage the ribs without cutting or polishing them. | Check slip, local marking and consistent release after tightening. |
| Smooth or decorative surface | Contact material and pressure need enough grip without cosmetic damage. | Inspect under normal presentation lighting, not only at the machine. |
| Tall pump or spray collar | The tool must avoid the actuator and provide clearance for the closure body. | Check vertical alignment, tube condition and final cap height. |
| Short cap or shallow skirt | Head height and contact depth become critical to avoid touching the bottle neck. | Check cap seating, neck marking and repeatable release. |
| Liner or tamper feature | The tool and setting must achieve the accepted closure result without damage. | Inspect liner compression, band condition, opening result and leakage where relevant. |
A format may need a chuck or insert, bottle locator, guide position, clamp setting and capping-head height. Keep the parts and approved settings together so the next changeover starts from a known condition.
A tool can tighten correctly but fail to release cleanly, lift the bottle or pull a pump actuator. Observe the complete cycle and the first production packs after each changeover.
Tooling approval
Diameter fit is only the first check. Tooling should transmit the required tightening action, protect the closure surface, clear actuators or collars and release without lifting the pack.
Test normal cap variation and confirm the tool does not slip, cut ribs or rely on excessive pressure.
Inspect decorative, smooth and soft-touch surfaces under normal presentation lighting after a representative run.
Observe whether the cap, pump or bottle follows the tool as the head lifts or spindle contact ends.
Mark tooling and retain it with the approved format settings and first-off reference.
Define signs of polish, cracking, hardening, contamination or profile damage that require inspection or replacement.
Repeat relevant checks when cap supplier, finish, material, liner, geometry or tooling material changes.